AMD Ryzen Threadripper Server Build

Have you ever been interested in creating your own computer server or workstation? Here is a video of one that I built for a clientʻs AI project.

Main components:

AMD Ryzen Threadripper PRO 3955WX CPU

ASUS PRO WS WRX80E SAGE SE WIFI E-ATX motherboard

PNY NVIDEA RTX A5000 PCI graphics card

Kingston DDR4 3200MHz RAM (8 x 32GB = 256GB)

Samsung 980 Pro PCIe 2,0 NVMe SSD (2 x 2TB)

Samsung 870 EVO MZ-77E4T0B (4 x 4TB SSD)

Corsair AXi Series AX1600i 1600 watt power supply

be quiet! Dark Base Pro 900 rev 2 computer case

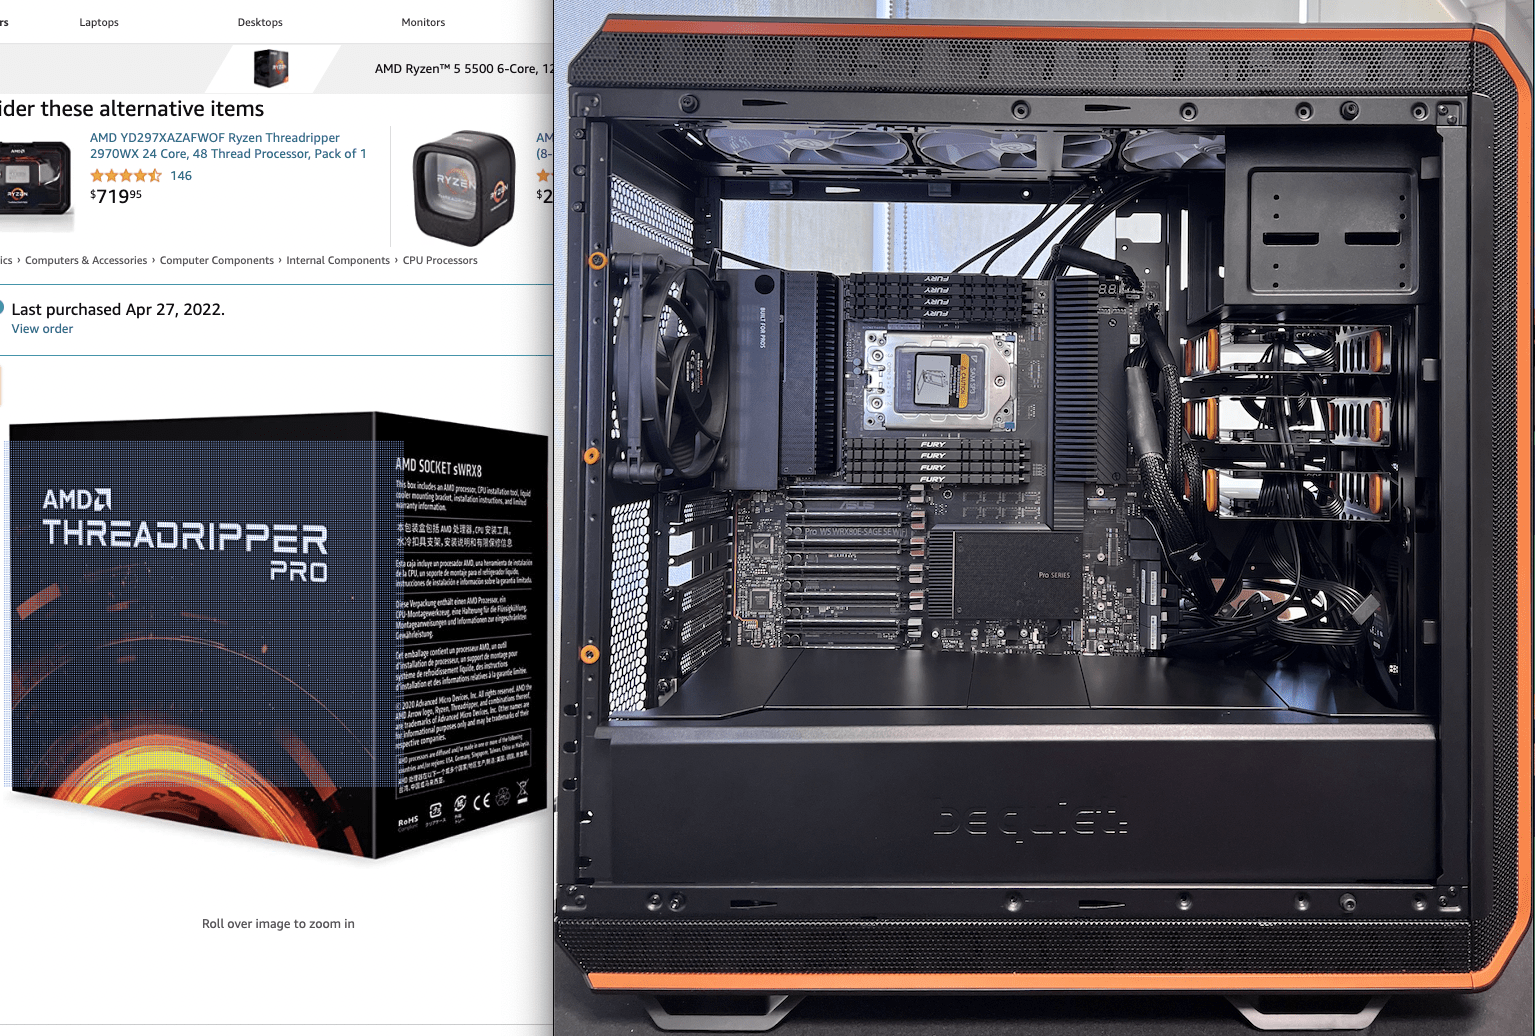
In 2022, the parts for this 256GB AMD Ryzen Threadripper computer server cost about $8,000 in parts to build (plus labor), and it was one of the most powerful servers you could build with consumer parts. I tested it with Windows 11 Pro to make sure everything worked properly, then uninstallaed that OS. I delivered it to the client with VMware-Workstation installed, as that was the best for their AI application. I bought the parts for two servers, but only built one, becasue the IPMI expansion communication card was back-ordered. This was for communication between the two servers, placed in different physical locations. Because of the current AI boom, it may be hard to get the parts that you would like to get, and the prices have gone up due to the increased demand of data centers. I purchased brand-name, high-performance parts, but you may need to consider other manufacturers or alternative parts choices.

The part selections for a computer build depend on what is available on the consumer market, your component selections, and their physical dimensions. For instance, I first purchased the be quiet! Dark Base Pro 750 case, but I found it was too small to accommodate the extended size of the ASUS-PRO-WS-WRX80E-SAGE-SE-WIFI- motherboard. I ended up sending the first case back, then purchasing the be quiet! Dark Base Pro 900 rev 2 computer case, which was a better fit.

I built this at my office in Sausalito, California just before I closed this location, and moved to Maui, Hawaii. This video footage was sitting on my hard drive for a while, so it was time to share it, while the information still might be relevant.

I got started with personal computers when I worked for ComputerLand in Belmont, California. I was the Assistant Manager, and sold lots of computers to publishing houses and larger companies as these new micro computers, laser printers, and networks started to be introduced. My first personal computer at home was the Apple II. Then, I bought one of the first IBM PCs, when they came out in 1983. Of course, I bought the Macintosh when it was first introduced in 1984! I had access to so many computers like Compaq, Osborne, DEC Rainbow, and others. I got to take them home and use them, so I got really proficient with computers.

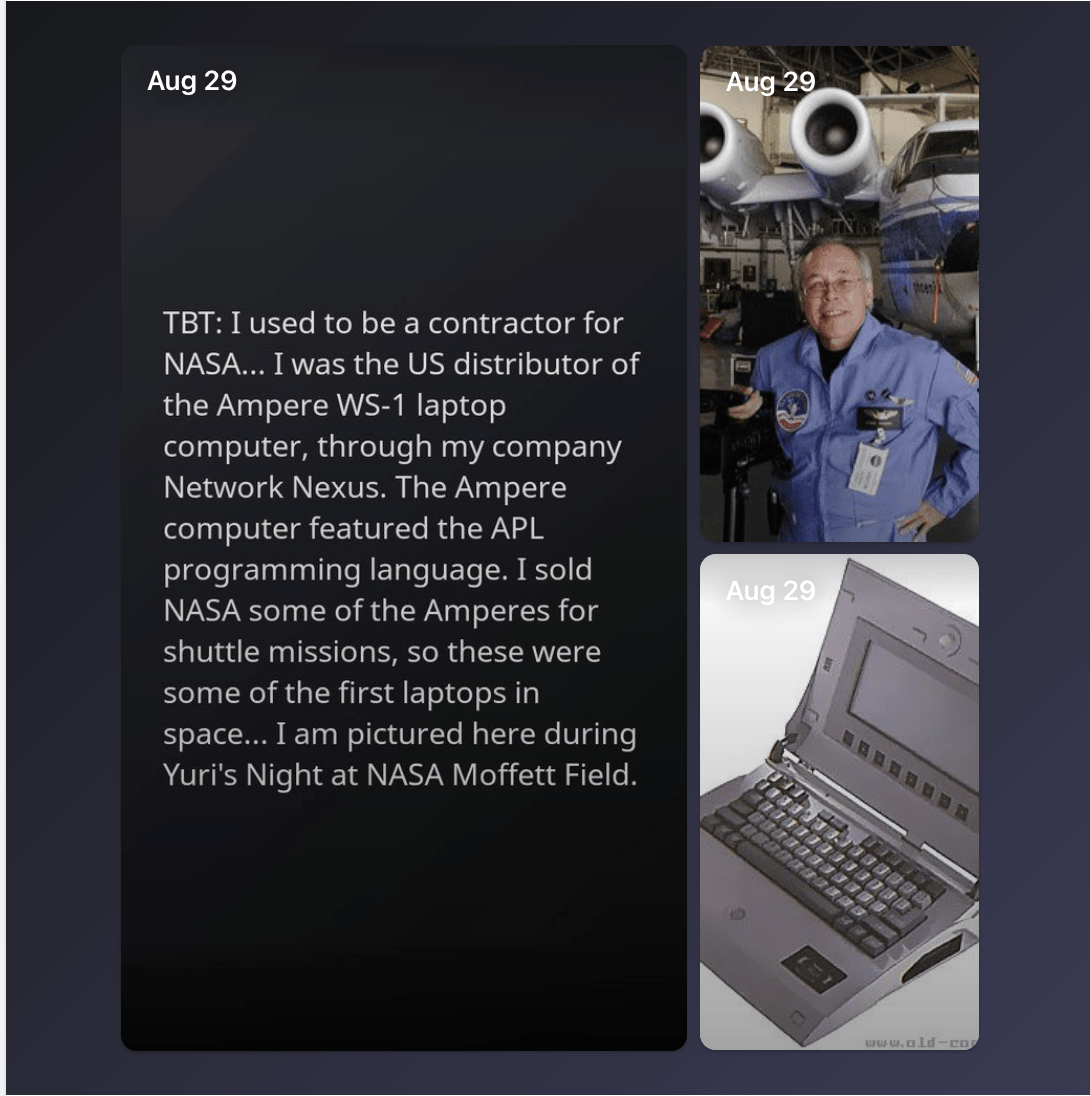
When I left Orange County Department of Mental Health, and moved up to Redwood /city California to do dolphin research with Dr. John Lilly, I aslo started a company across the street. I started Network Nexus to be a computer reseller and developer. Network Nexus became the national distrbutor of the Ampere WS-1 laptop. These were Japanese-built APL computers, which allowed transfer of programs from the IBM mainframe computers, for use in flight. These laptops were used on the NASA Space Shuttle at NASA Moffett Field, California. I was also a dealer for Sage and Stride Computers, and built servers and networks based on their hardware. I built computers for Stanford Linear Accellerator Center, Industrial Light & Magic, and other clients like Apple developers that would use them for Macintosh software develpment in the early days.

For my typesetting company Pinnacle Type, in the San Francisco Financial District, I built a PostScript file collection server, for sending to a Linotronic PostScript film printer used for CMYK separations for offset printing. Linotronic imagesetters are a type of high-quality printer, with resolutions of up to 2540 dots per inch. The Linotronic allowed graphic artists to set type that exceeded the quality of many phototypesetting systems in use at the time. A Linotronic is like a washing machine-size laser printer, that prints on film on a canister inside. These films were processed in a darkroom with an automated photographic chemical bath to develop the tabloid-sized images used for film separations. The processed films would be messengered to printing houses for printing large posters, magazines and books. This business was not able to continue on after Adobe released their PDF format, and everything switched to digital printing that you could do from the desktop.

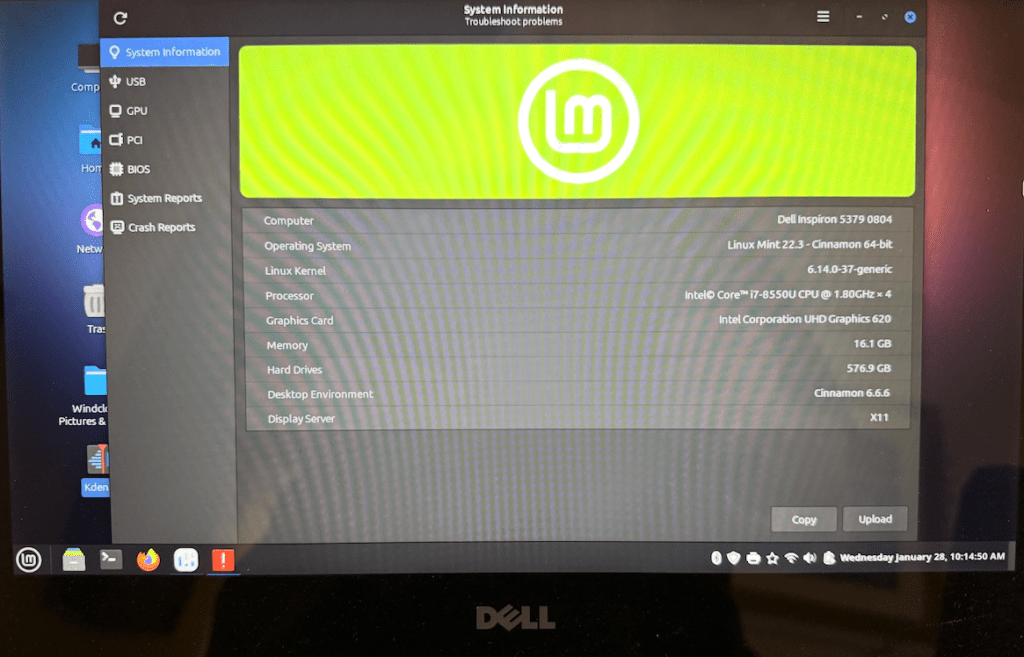
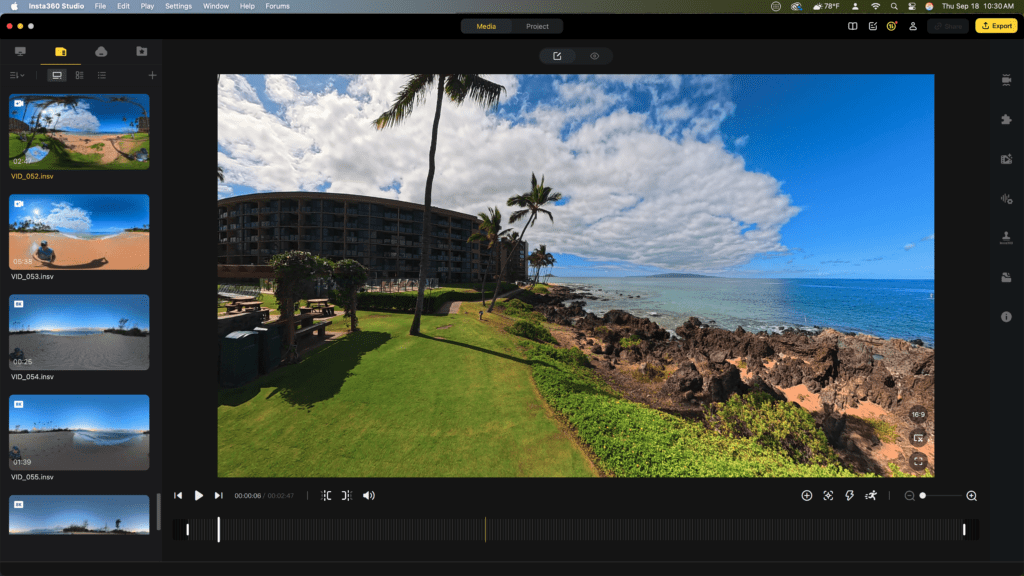
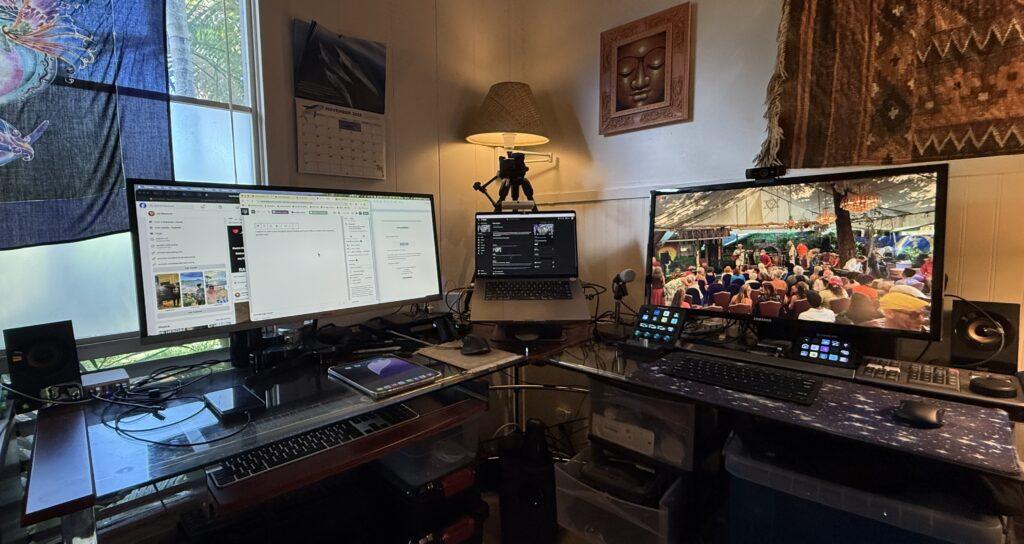
I still currently use macOS, Windows 11 Pro, and Linux Cinnamon Mint computers. My applications are mostly video editing projects. I just put together a Dell Optiplex computer for video editing with Davinci Resolve Studio, with a Davinci Resolve Speed Editor keyboard.

Regarding the audio track used in this YouTube Channel Video: This track is free to use even commercially (like YouTube monetization). Code Switch by Punch Deck |   / punch-deck  

Music promoted by https://www.chosic.com/free-music/all/ Creative Commons CC BY 3.0 https://creativecommons.org/licenses/…

What do you do with an old computer?

Do you have a Windows 10 or earlier version computer that has reached itʻs End-of-Life? Do you have an older Mac that can no longer be updated? What do you do with an old computer?

Since I had this issue with upgrades with a couple of older computers that were still working perfectly fine, I started looking into Linux and Hackintosh as alternative OS installations. Maintaining a Hackintosh looked like it has itʻs issues, so I decided not to go that route.

After looking into Linux Mint distributions, I decided that Cinnamon Mint 22.3 “Zena”, based on Ubuntu, was the best Linux OS variant for me. Cinnamon Mint has a reputation for looking the most familiar to previous operating systems like Windows 10, and is easiest for people just starting to use an alternate operating system. This Linux Mint is stable and modern, and has many apps and utilities available through the Software Manager.

There is also a version of Cinnamon Mint called LMDE 7 “Gigi”, that is based on Debian. This Linux distribution is extremely stable and conservative, and may have older apps and utilities available through the Software Manager.

I used the Rufus app on a Windows 11 computer to make a USB startup drive with the Cinnamon Mint Linux installer. I only needed an 8GB flash drive, which Rufus formats as it is setting up your installer media.

I used the Rufus/Cinnamon Mint Linux installer flash drive with my Dell Inspiron 5379, 16GB, 512GB SSD, which was running Windows 11 Pro. I booted up with the flash drive, and selected to Start Linux Mint. The installer was quick, and note that there is a check-box on one of the screens to install multi-media codecs, which I checked to be installed. During the installation it recognized the WiFi, and allowed sign on. I was pleasantly surprised to find the the touchscreen worked properly, as did the keyboard and trackpad. All keyboard buttons worked. I installed Zoom, but I found the Mic audio quality wasnʻt good. After I installed Pipeline, the audio quality was improved in Zoom. I was surprised how totally well Cinnamon Mint Linux on the Dell Inspiron with no issues with any of the hardware.

With my 2012 Mac mini, 16GB, 512GB hard disk, when it reached itʻs EOL, I tried using it with the OpenSource app and a newer macOS. I could run a newer macOS on it, but I found that the Virtual Machine slowed down the computer too much. I decided to wipe the hard drive, and install Windows 10 Pro, which ran pretty well on this hardware until itʻs EOL.

Then I used the Rufus/Cinnamon Mint Linux installer flash drive with my Mac mini. I held the Option key as I booted the Mac mini, then selected the startup image with the Linux Mint installer. The installation went quickly, and there is a check-box on one of the screens to install multi-media codecs, which should be checked. Cinnamon Mint Linux was equally good with recognizing the existing all the Mac mini hardware, except the WiFi. After Linux installation, I did need to install the Broadcom driver for WiFi. The 15 inch touchscreen display worked without issue with the Mac mini on Linux, as did the wired Lenovo keyboard and mouse.

I like that I was able to put the same Linux OS on my PC hardware and my Mac hardware. Another nice benefit is that I have set up the desktop interface to look the same on both of these computers.

New Camera Crush

I surprised myself when I bought an Insta360 X5 camera a couple of months ago. I have a camera kit with three Panasonic LUMIX cameras and multiple lenses. I have two iPhones with good cameras. I have a Logitech C922 USB desktop webcam. I didn’t need another camera. Yet, when I saw the Insta360 X5 camera bundle at Costco for $549, I immediately decided to get it. (Since then, I have seen the bundle drop to $469, which is a great price.)

I took this camera to the Big Island right after I got it. I was able to get underwater dolphin video with the X5, just as it came, because it is waterproof down to 49 feet. It can be recording on the surface from the kayak, then be directly immersed in salt water as you go underwater. There is a custom Insta360 X5 Dive Case accessory that is available, which helps provide video recordings with less distortion, and you can go deeper underwater with it. I ordered the Dive Case with the floating selfie-stick, but haven’t taken them out yet.

The kit came bundled with an Insta360 256GB microSD card, for up to about 2.5 or more hours of recording time of 8K video at 30 frames per second. A 256GB microSD card can store approximately 5 hours of 5.7K video at 30 frames per second. I purchased the Insta360 512GB microSD card, for up to five or ten hours of recording time (depending on file settings).

Insta360 cameras are supported by a mobile app and Insta360 Studio desktop software. The software is used to edit and reframe 360-degree video into a standard format and includes numerous AI-powered editing features. The Insta360 Studio editing interface looks like this image below. You can move the view around, and select the view desired to export by right-clicking with the mouse to set a keyframe. You can also edit the footage with a smartphone, and upload it to the Insta360 Cloud account.

Insta360 Studio app for viewing, editing and exporting the video.

The Insta360 X5 with the selfie-stick can be attached to a desktop tripod. I have also used a Sirui monopod with tripod feet to extend the height of the selfie-stick. The X5 is pictured below with a rubber lens guard over the top of the camera. At the base of the camera is the Insta360 quick release mount. I have also ordered a metal cage to protect the camera when it gets knocked over.

Insta360 X5 selfie-stick mounted on a mic stand base, with a battery bank and long USB-C cable.

The Insta360 X5 battery will power the camera for about 2.5 hours. Previous Insta360 models have a different sized battery. This X5 kit came bundled with two batteries. The battery can be charged in the camera with the USB-C cable. A dedicated two-battery charger is also available. I got that because I wanted to have the battery charging separate from being able to use the camera. The power can also be extended by using a battery pack.

I was able to use the Insta360 X5 as a desktop webcam connected to the computer with a USB-C cable. The camera will follow your movement, as your position adjusts.

I like the camera, it allows for low profile recording of public events. There are many settings choices available from the touchscreen display. I am typically recording at 8K, 30 fps resolution (or 5.7K PureVision if it is low-light), and exporting 1080 HD video. The video can be viewed and exported as 360 video or flat HD video. The audio recording quality is pretty good. Because it is using two wide angle lenses, with internal AI that stitches the videos together in the camera, the Insta360 X5 is kind of like a personal manual drone, giving you the perspective of everything around you. I recommend the X5 as a unique camera that is small enough to put in your pocket, and take with you to an event or a walk, for recording.

Insta360 was founded in 2015 by CEO J. K. Liu and his co-founders from Nanjing University. According to Nikkei Asia, Liu’s interest in 360-degree camera technology was inspired by attending a music concert, which motivated him to develop products for recording and sharing large-scale events.

Home Studio

I wanted to share some thoughts about creating your home office or studio with computers and devices. I have come to prefer L-shaped desks, like this cherry wood, chrome and glass desk.

I use a MacBook Pro M1 Max 32GB/1TB with a Samsung 34 inch ultrawide display, for office work and video editing with Adobe Premiere. I use the Apple Magic Keyboard and Magic trackpad. I also use the Logitech MX Master 3 mouse. I have an 8TB RAID and other large hard drives attached. I backup using Time Machine to a 1TB NVME drive. This is also the computer that I take with me to work gigs or on trips.

I use a Dell Optiplex 7040 SFF 16GB/1TB Windows 11 Pro computer, with a Samsung 28 inch display on the right for video editing with Davinci Resolve Studio and other tasks. I use a Tecknet wireless keyboard and mouse. I added the Blackmagic Design Speed Editor keyboard, which has the jog shuttle, which is really nice for scrubbing through video. I use a Logitech C933 webcam for Zoom and OBS on this computer. I have a Shure mic and Stream Decks attached to this (it is nice that the PC has so many USB ports). I use Windows Backup to a portable 1TB hard drive.

I picked up the Dell 7040 PC recently, to replace my Dell Inspiron laptop, a Windows 10 Pro computer that has come to End of Life. There are ways to extend the service for a year, but I decided I could easily move on a desktop computer with Windows 11 Pro. I bought mine used at low cost from someone in the local community. I added a 1TB NVME drive, and created a flash drive to reinstall Windows 11 Pro, which went smoothly.

I recently added the Logitech Z533 Speaker system with subwoofer, which I really like using with my two computers. Both computers headphone out ports are connected, and audio can be played from either computer, with a large audio control knob for sound levels, which is really convenient.